
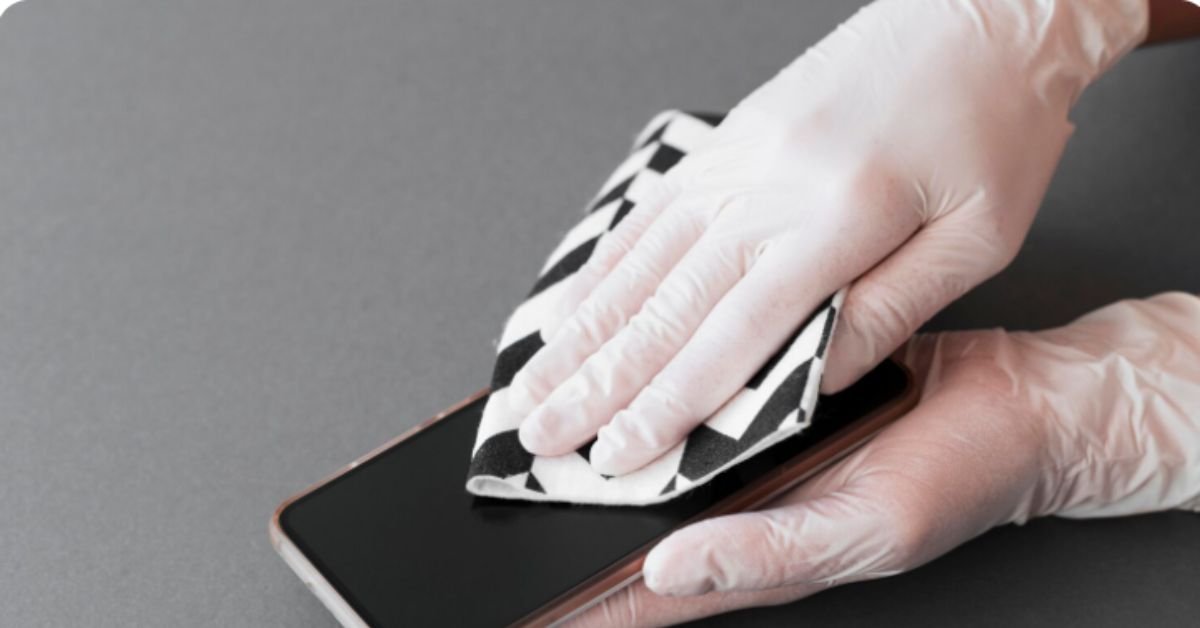
A screen protector takes daily abuse so your display doesn’t have to. Over time, scratches, chips, and edge lifting turn that invisible shield into a visibility hazard. Knowing when to swap it out – and how to do the job without trapping dust or cracking the new layer – keeps your screen looking sharp and your touch response accurate.
Clear signs it’s time for a fresh layer
Not every scratch demands immediate action, but certain patterns tell you the protector has done its job and needs retiring. Deep grooves that catch a fingernail distort text and images. Chips near the corners or along the home-indicator area tend to spread fast. If the adhesive edge has lifted more than a millimeter, dust and pocket lint work their way underneath, creating a gritty layer that scratches the actual glass every time you wipe the screen. Rainbow-colored oil-slick patches mean the oleophobic coating has worn off, so fingerprints stick instead of wiping clean.
Tempered glass versus flexible film: what fits your habits
Tempered glass feels closest to the bare screen – smooth, hard, and easy to clean. It absorbs impact better than film, so a drop that would shatter the protector often leaves the display untouched. The trade-off is thickness; some cases press against the edges and cause lifting. Flexible TPU or PET film is thinner, self-heals minor scuffs, and curves around edge-to-edge displays without peeling. It won’t survive a hard corner impact as well, but it’s cheaper and easier to apply without bubbles. Match the material to how you carry the phone: pocket-only users often prefer film, while bag-and-desk folks benefit from glass.
Removing the old protector without damaging the display
Start with clean hands and a microfiber cloth. Warm the adhesive slightly with a hair dryer on low for fifteen seconds – just enough to soften the bond. Slip a thin plastic card or a guitar pick under a lifted corner, then pull slowly at a shallow angle, keeping the protector close to the screen surface. If resistance spikes, reheat rather than yank; sudden force can flex the display. Once free, wipe the glass with 70% isopropyl alcohol on a lint-free pad to remove any remaining adhesive residue. For a step-by-step walkthrough with photos, see this guide on handling a broken screen protector safely.
Installing the new one bubble-free
Work in a steamy bathroom if possible; humidity settles airborne dust. Peel the protector’s backing only as you lower it, aligning the cutouts with the speaker, sensors, and camera. Use the included alignment frame or two strips of painter’s tape as hinges on one side so you can flip the protector down like a lid. Press from the center outward with a microfiber-wrapped finger or the supplied squeegee. If a stubborn bubble remains, lift the nearest edge just enough to let air escape, then reseal. Avoid pressing hard on the very center of large-screen models – uneven pressure can stress the display.
When you might skip a protector entirely
Ceramic Shield and similar hardened glasses have narrowed the gap between protected and bare screens. If you use a rugged case with a raised lip, never put the phone face-down, and replace the device every two years, the added layer may not earn its keep. Matte finish protectors also reduce glare but slightly soften text rendering, which matters for reading-heavy workflows. Weigh the feel and clarity you want against the realistic drop risk in your routine.
Keeping the fresh layer clean longer
Wipe with a dry microfiber cloth daily; reserve alcohol wipes for weekly deep cleans. Avoid paper towels, tissues, or clothing – they embed microscopic abrasives. If you carry the phone with keys or coins, dedicate a pocket or use a pouch. A small habit shift adds months to the protector’s useful life. Should the worst happen and you end up with a cracked screen protector despite precautions, the removal and replacement process stays the same – just move a little slower around the fracture lines.
Bottom line
A screen protector is a consumable, not a lifetime accessory. Inspect it monthly under bright light. When scratches catch your eye or edges lift, swap it out before debris reaches the actual display. The ten-minute replacement routine costs far less than a display repair and keeps the touch experience as responsive as day one.
CLICK HERE FOR MORE BLOG POSTS
